We often need to take screenshots on our Mac. Maybe, you are getting an error, and you wish to take a screenshot and get help. Maybe, you want to screenshot important documents or web pages, or the reason could be anything. So the question is, how to screenshot on Mac?
On Mac there are various ways to take a screenshot. For instance, you can use keyboard shortcuts, or if your Mac has a touch bar, you can use it too.
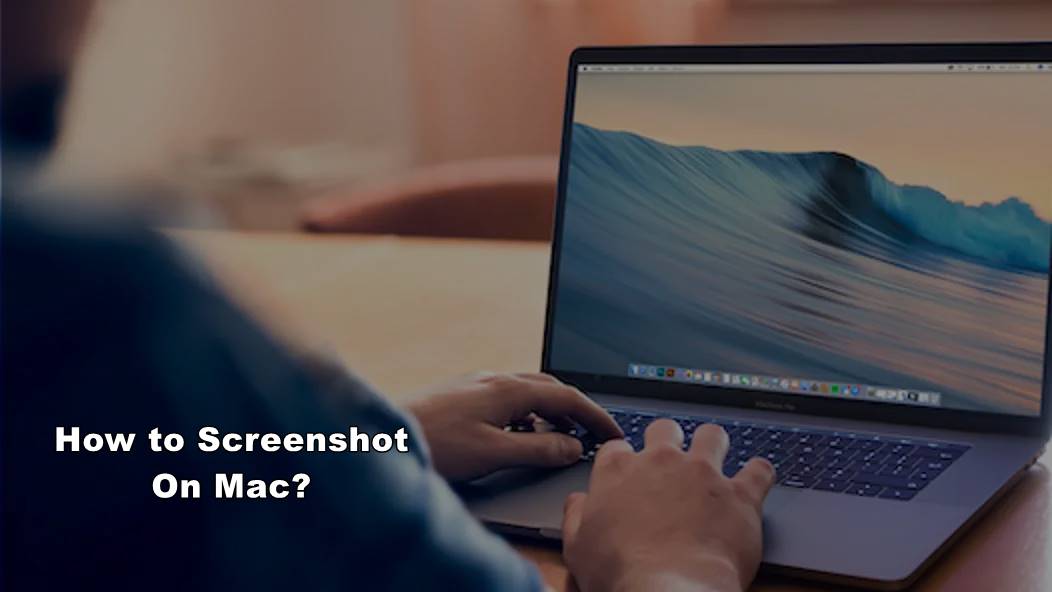
However, to help you out, let me just go ahead and mention all the methods which allow you to capture screenshots on Mac.
So here we go:
Contents
How to Screenshot On Mac?
Screenshot Tool
Mac comes with a screenshot tool for capturing screenshots easily. Using this tool, you can capture the whole screen of your Mac or select a specific area on your screen and save it as a screenshot.
To use it, go to Launchpad > Other > Screenshot and then select the screen area, and a screenshot will get captured.
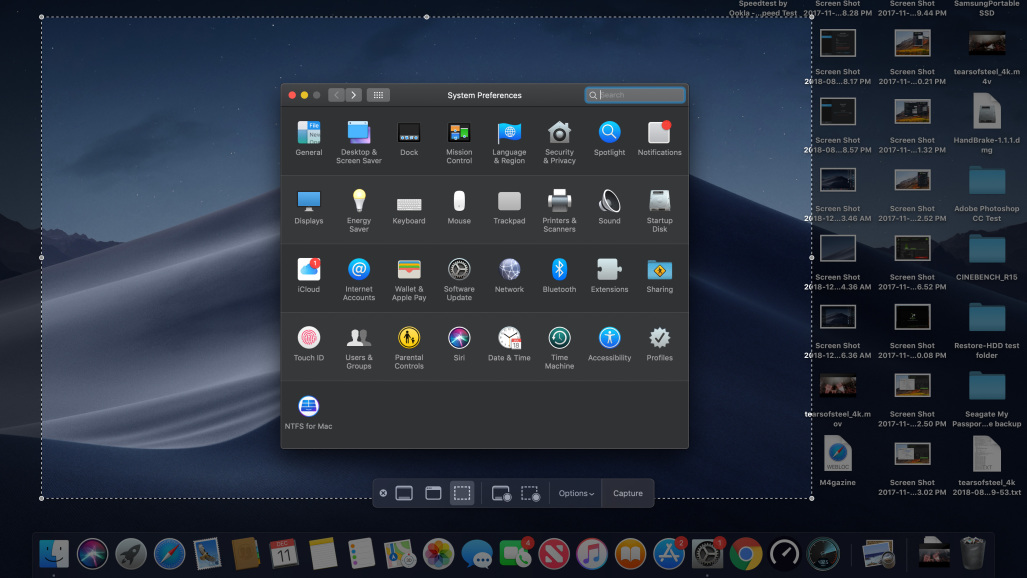
Also, if you wish to use a shortcut, then you can press Shift+Command+5 at the same time, and then you will get an option to capture the entire screen, a selected window or a custom section of your screen.
Even, there is also an option to capture recorded video. For instance, you can capture the entire screen or a custom section of the screen.
Plus, you will find an options dropdown menu from which you will be able to select a location to save screenshots, set up a timer, and other settings. Also, check out How to Turn On Dark Mode on Your Mac?
Capture the whole screen
If you wish to capture the whole mac screen instantly and easily. Then Mac offers you a shortcut for the same.
Simply press Shift+command+3 keys at the same time, and it will take a screenshot and save it as a .png file on your desktop. Or you can always use the screenshot tool to capture the whole screen.
Screenshot Part of the Screen
You may also wish to capture a specific area of your screen instead of the whole screen. And for this specific reason, Mac offers you a shortcut.
You need to press shift+command+3 keys at the same time, and your mouse pointer will change to a cross hair. Now simply click and drag your mouse to select the area that you wish to capture.
Moreover, you can also hold down shift, option or space bar and change the shape, size, and position for the selected area before saving an image.

Also, the captured screenshot will get saved as a .png file on your desktop by default. Also, check out MacBook Pro Not Charging? Here is How to Fix The Issue?
You can also take a screenshot of a specific Window or menu. This feature is extremely helpful if you are making tutorials or wish to show an error to someone else.
For this, you will need to press the Shift+command+5 button together, and the pointer will get changed to a camera icon.
Then move the camera over the window to select it and then click to save the image as a .png file on your desktop.
Also, you should know that you can switch between capturing a custom section or a specific window by pressing the space bar.
Use touch bar to take a screenshot on Mac
In case if you have a MacBook with a touch bar, then you can also use it for taking screenshots on Mac. For this, you will need to press Shift+Command+6 at the same time, and the screenshot will get saved as a .png file on your desktop.
Use third-party applications
Apart from Mac’s own shortcuts, you can always download third-party applications to take a screenshot on Mac.
For instance, you can use this tool called Snappy, which is absolutely free to download. The app comes with lots of features, and it helps you to take quick screenshots and organize them. Even, it also allows you to customize or edit your screenshots right after capturing them.
How to change screenshot image format in Mac?
As you probably already know that Mac saves the screenshots as a .png file. And not everyone would prefer the .png format since it takes a lot of space on your Mac. Instead, if you want to save screenshots in .jpg file format, then you can easily do so.
For this, you will need to go to Launchpad > Other > Terminal. Then over here, you will need to run the below command:
defaults write com.apple.screencapture type jpg
You may also need to enter your password and then reboot your Mac. After reboot, all your future screenshots will get saved in the .jpg format. Also, you can always revert the changes by running the same command. Just make sure to use png instead of jpg in the command.
Final Words:
So that was the answer to your how to screenshot on Mac question. Now go ahead and try these methods out and see if they are working out for you or not. Also, if there is anything you would want to ask then do feel free to drop a comment below.


