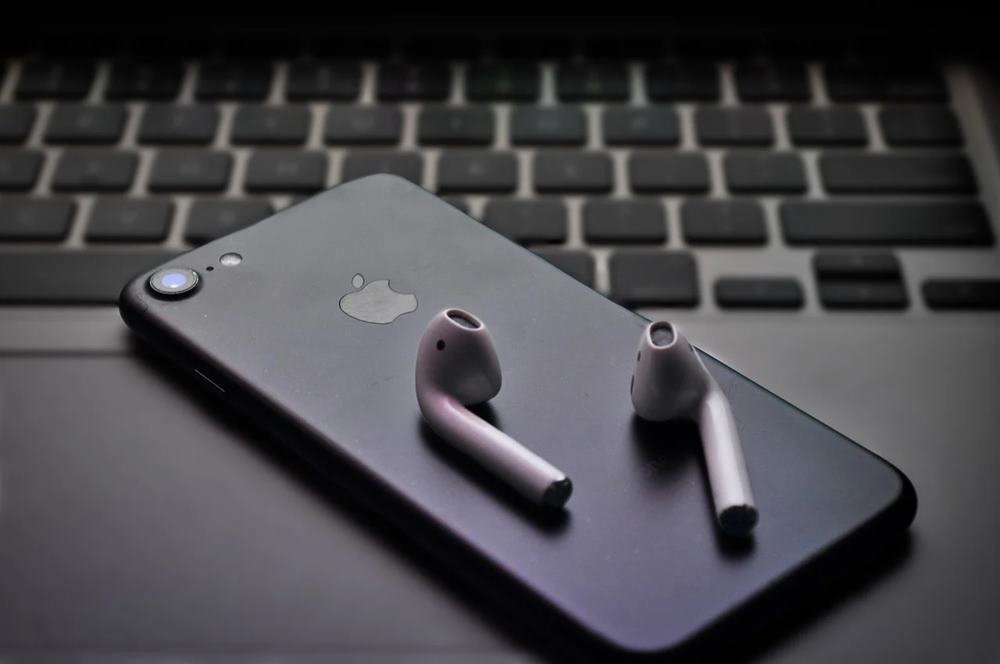
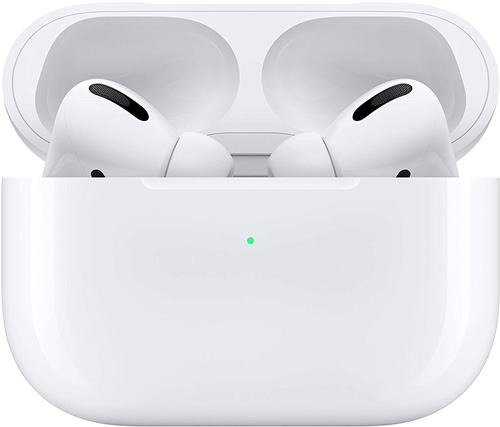
There is no doubt that Apple Airpods is one of the best pieces of earphone hardware you can buy. Many users prefer using it with their iPhone or iPad and even Mac. But connecting AirPods with your iPhone or iPad is pretty easy. Since all you need to do is open up the AirPods case, and you will get a popup on your phone’s screen. But when it comes to MacBook, the steps are not really straightforward. So the question is, How to Connect AirPods to MacBook Pro?
Well, in this article I am going to talk about it only. By following the below-mentioned steps you will be able to connect your AirPods with your MacBook Pro, MacBook Air, Mac Mini, or iMac effortlessly.
So let’s just go ahead and check out the steps:

How to Connect AirPods to MacBook Pro?
Connecting AirPods to MacBook is extremely easy. For this method, we will be using Bluetooth connectivity.
Also, the below mentioned steps will work effortlessly with all the AirPods models like the AirPods Pro. As well as it will work on all Mac computers, including MacBook Pro.
However, just make sure that your MacBook or Mac is running on macOS Catalina 10.15.1 or later. Else, AirPods will not work.
Anyway, here are the steps that you have to follow:
- First of all, go to System Preferences from your MacBook Pro.
- Then go to Bluetooth. From here, turn on Bluetooth, and you will get to see the ‘Turn Bluetooth Off’ button when turned on.
- Now, from your AirPods case, press and hold the setup button. Then you will get to see that the lights have turned white. Also, make sure that your AirPods are in the case only.
- Then on your MacBook Pro, AirPods Pro will show up with a ‘connect’ button in System Preferences > Bluetooth.
- Simply click on the connect button. Also, you will get asked if you want to enable “Hey Siri” on your Airpods. You can go ahead and set up the feature or you can cancel it.
- Also, once done, AirPods pro will appear under your devices list. This will confirm that they have been paired with your Mac.
- Once connected, you can click on options to change the configuration for automatic ear detection, controls for when you press and hold either AirPod and noise control toggles.
Now if you wish to control features like noise cancellation and transparency on your AirPods Pro, you will need to click on the volume control button.
In case if the volume control doesn’t show up in the menu bar, you can enable it by going to the System Preferences > Sound and enable “Show volume in menu bar”.
Also, in case if you are signed in to iCloud on your Mac, your AirPods pro connection will automatically sync to all your other Macs, iPhones, iPads, and iPod touch you own.
This simply means that there is absolutely no need for you to repair your AirPods again. Instead, you can simply go to the audio output option to switch to them.


Buy Apple AirPods Pro
Third-party solutions to connect AirPods to MacBook Pro
In case if the above steps did not work for you, then you can use this app called ToothFairy that allows your AirPods to switch easily to your MacBook. However, the app is not free, but it comes with an inexpensive price tag.
The app makes connecting both of the devices quickly and offers you a reliable connection. Also, there are quite a lot of alternatives available out there, like the AirBuddy.
All these apps do is that, cuts down the time of connection between both of the devices. As well as it prevents connection failing attempts.
But you should know that these apps won’t be useful when Bluetooth is the main culprit for any sort of connection issues. Also, check out How to Fix if Airpods Keep Disconnecting?
But still, these types of apps are worth trying out. Since they do offer a lot of benefits and comes with loads of features.
Final Words:
So that was the answer to your how to connect AirPods to the MacBook pro question. Now go ahead and check the steps out and see if they are working for you or not. Also, for any other questions, do comment below.


